Hans Christian Andersen, is better known as a writer of stories but he also was an expert maker of paper crafts. He’s credited with making the earliest paper hearts in the 19th century. These hearts became a classic Danish Christmas decoration, but are common also across Scandinavia and Northern Germany. I learned to make them as a child from a lady from Hamburg. Over the years I have visited Denmark many times and, I’ve always loved these simple, handmade decorations, often filled with sweets on the Christmas tree. I chose this theme for the advent window because they seem to be about love at Christmas and I’m reminded by the poem “Love came Down at Christmas” by Christina Rosetti. Written about the same time as HCA was making paper hearts! The last verse resonates
Love shall be our token,
Love be yours and love be mine,
Love to God and all men,
Love for plea and gift and sign.
Make Your Own!
Below is a step‑by‑step method for making traditional woven Christmas hearts (julehjerter) from stiff craft paper. Alternatively watch the video
Materials
Two sheets of thick coloured paper (traditionally red and white, but any colours work- even recycled wrapping paper!)
Scissors, Pencil, Ruler
Glue stick or sticky tape (optional, for the handle)
A template (optional, but helpful for beginners—many printable templates are available online
Prepare Your Paper
Fold each sheet of paper in half. The fold will form the bottom of the heart.
Using a template or freehand, draw a rounded half-heart shape on each folded sheet, with the flat edge along the fold. ( if mathematically minded, make your own template! Length is ~1.5x the width and radius of the semicircle forming the top of the heart is half the width)
Decide on the pattern. Cut along the lines to create strips, stopping at the curve—do not cut all the way through. You should now have two folded, slitted heart shapes. The simplest pattern is simply cutting through the fold into 3 equal strips
Get Weaving!
Place the two folded pieces at right angles to each other with rounded edges at the top.
Start weaving the strips together: alternate weaving each strip inside and outside the other colour. The first strip goes inside, the next goes outside, and so on. This creates the classic checkerboard pattern.
Gently adjust the strips so the shape tightens into a heart. Make sure the strips line up evenly and the round lobes are at the top.
Flatten and press the heart along the central crease so it holds its shape.
If you want to hang the heart, fold a short piece of ribbon or string in half and tuck the loop into the top centre before gluing, or taping inside the heart.
Useful Resources
Template PDF: danishheart_instructions
Copyright acknowledged creativehardt
Video instructions
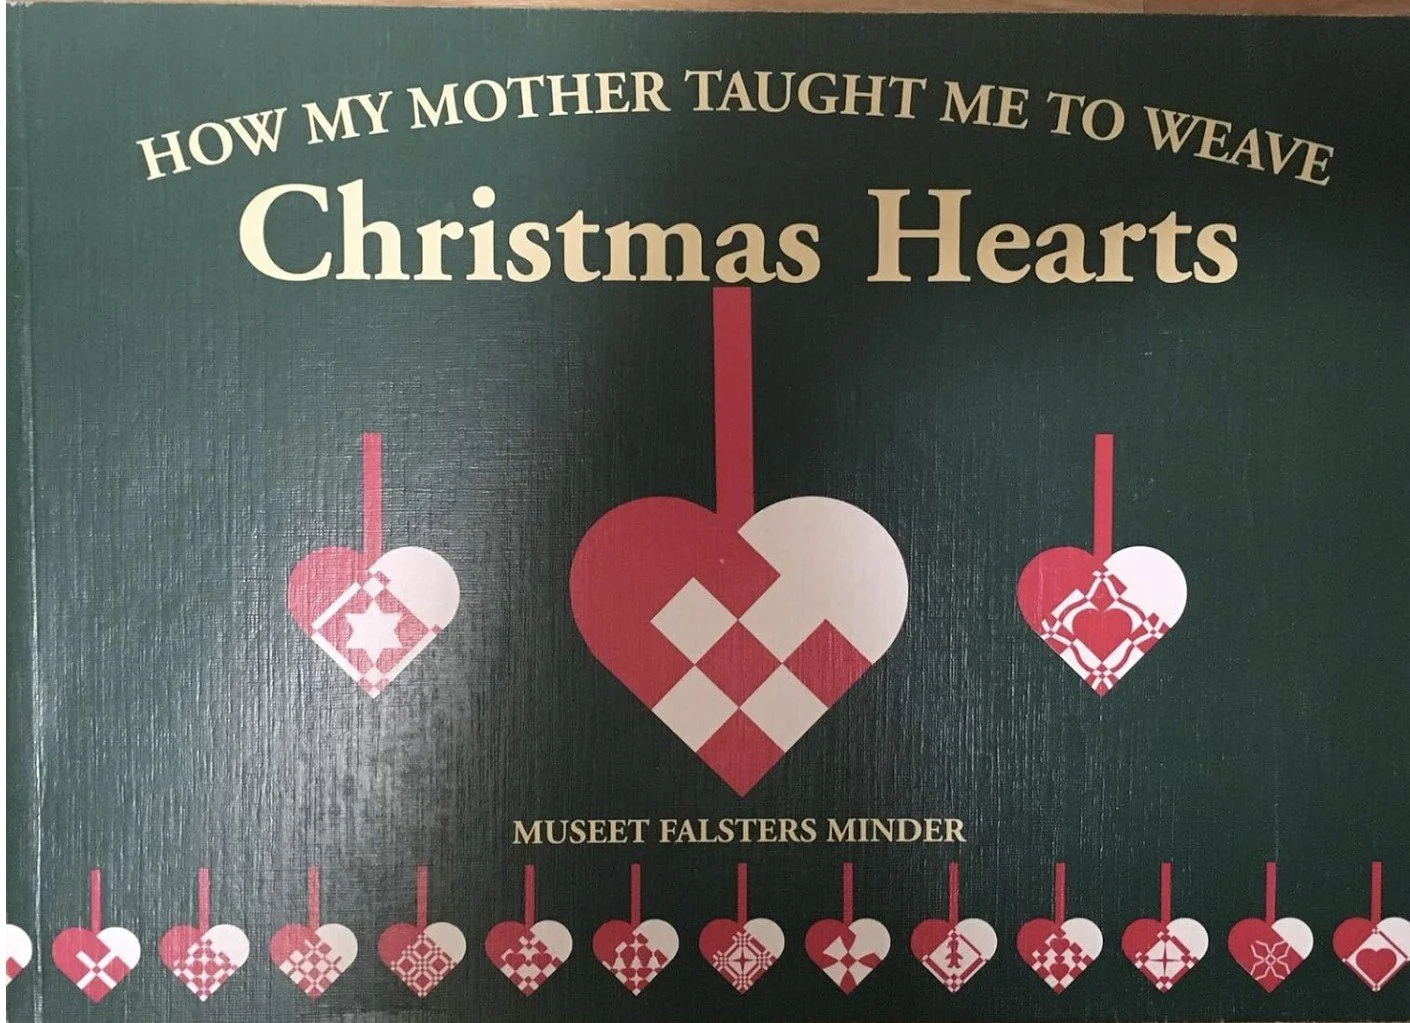
Great Book!
Bought this wonderful book in Odense Museum shop- it’s got 150 different templates!
How My Mother Taught Me To Weave Christmas Hearts: Knut Vaegter, Liselotte Mygh: Amazon.com: Books